Sign In With Apple 苹果第三方登录,服务端 PHP 篇。
想要接入 Apple 第三方登录,有两种方式:
- 验证 identityToken
- 验证 authorizationCode
两种方式都可以获取到用户授权的 Apple 信息,但是第一种方式相对简单一些。
验证 identityToken
登录流程图如下:

客户端(APP 端)登录成功之后,会拿到以下信息:
1
2
3
4
5
6
7
8
9
10
11
12
13
14
15
16
| Object {
"authorizationCode": "c6a79a2b031f343459c9d8f54838e933e.0.rryyt.4EIeY2_SW6qw1fphfGIZ-A",
"email": null,
"fullName": Object {
"familyName": null,
"givenName": null,
"middleName": null,
"namePrefix": null,
"nameSuffix": null,
"nickname": null,
},
"identityToken": "xxxx.yyyy.zzzz",
"realUserStatus": 1,
"state": null,
"user": "001883.d382005d8c7845a9a5402dd10c398265.0950",
}
|
其中有一个 identityToken 字段,这个字段的值其实就是一个 JWT,可以看到使用 . 进行分隔,分为header、payload、signature 三部分。
客户端需要把这个 identityToken 传给后端,后端进行验证。
JWT里的 signature部分是苹果使用私钥对其进行的签名,要验证这个签名,需要先获得苹果的公钥,而公钥可以通过JWKSet.Keys(JSON Web Key Set)来转换获得。
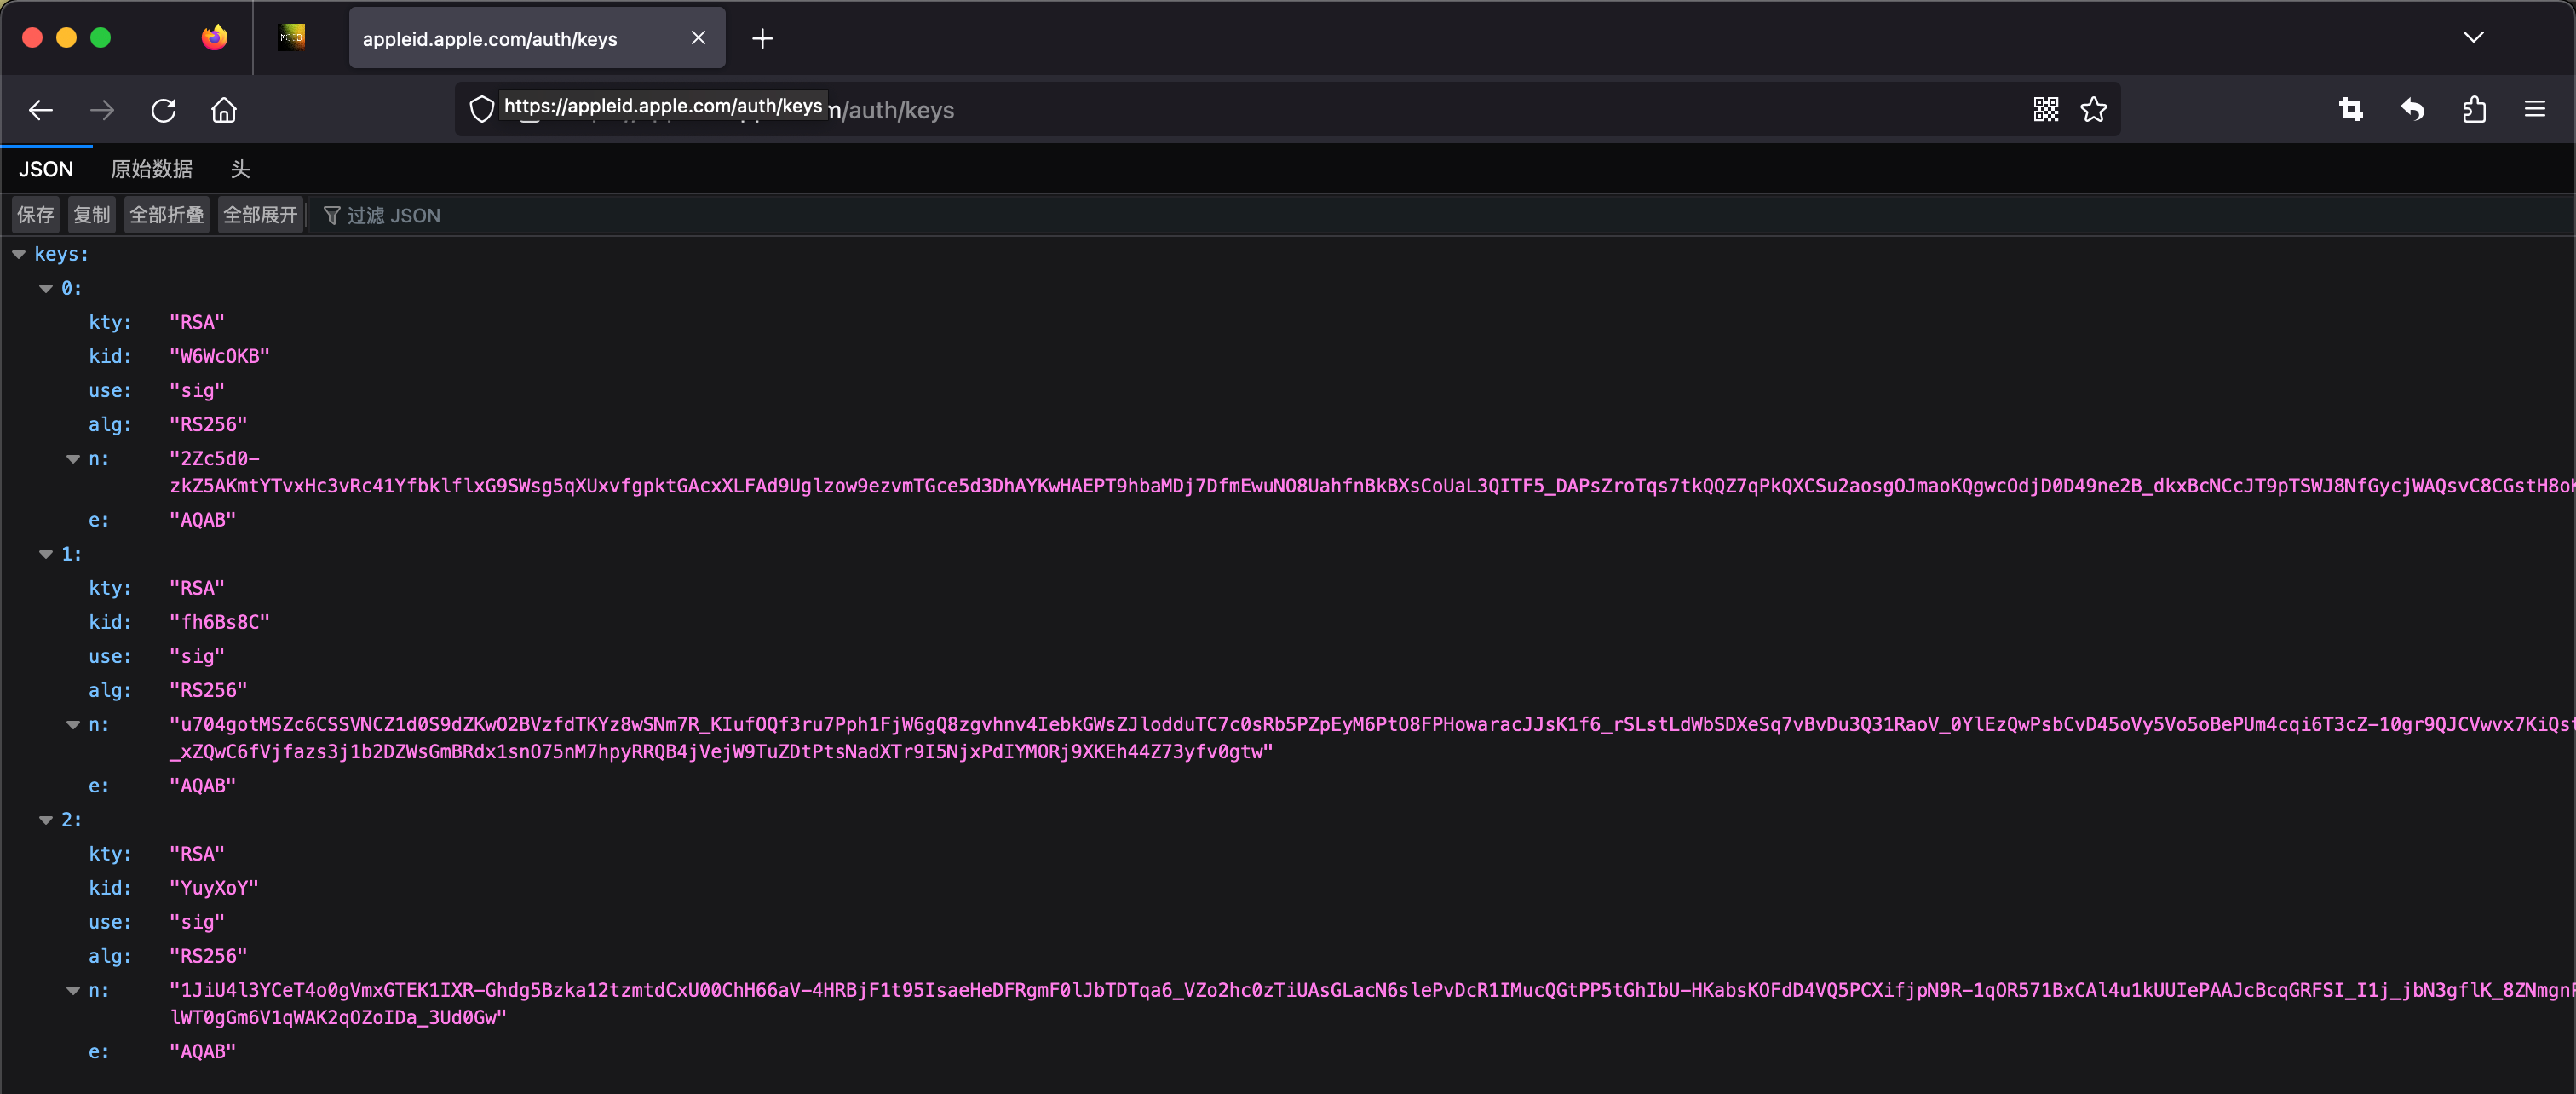
如果请求成功,响应对象会包含三个 Apple 的公钥 JWKSet.Keys
该 API 会返回多个密钥,密钥的数量可能随时间而变化,从这组密钥中,选择具有匹配密钥标识符 ( kid) 的密钥来验证 Apple 颁发的任何 JSON Web 令牌 (JWT) 的签名。
因为需要对JWT的签名进行验证,因此需要使用到 firebase/php-jwt 第三方包。
1
2
3
4
5
6
7
8
9
10
11
12
13
14
15
16
17
18
19
20
21
22
23
24
25
26
27
28
29
30
31
32
33
34
35
36
37
38
39
|
public function loginByApple()
{
$identityToken = request()->post("identity_token");
$params = request()->all();
if (empty($identityToken)) {
return $this->failed("Apple id token require");
}
try {
$apiResponse = file_get_contents('https://appleid.apple.com/auth/keys');
$jwkSet = json_decode($apiResponse, true);
if (!is_array($jwkSet)) {
throw new AppRuntimeException("Get JWK failed");
}
try {
$pubKeys = JWk::parseKeySet($jwkSet);
} catch (\Exception $e) {
throw new AppRuntimeException("Parse key set failed:" . $e->getMessage());
}
try {
$headers = new \stdClass(['E256']);
$payload = JWT::decode($identityToken, $pubKeys, $headers);
} catch (\Exception $e) {
throw new AppRuntimeException("Decode JWT failed:" . $e->getMessage());
}
} catch(AppRuntimeException $e) {
return $this->failed($e->getMessage());
} catch (\Exception $e) {
return $this->failed("Apple logged in failed");
}
}
|
如果验证成功,$payload 的核心字段有以下内容:
iss:发行者注册的声明标识了发行身份令牌的主体。由于 Apple 生成令牌,因此值为:https://appleid.apple.comsub:用户的唯一标识符aud:开发者帐户 Client.idiat:Apple 发布身份令牌的时间exp:标识身份令牌过期的时间email:用户的 Email,可能是用户的真实电子邮件地址或代理地址,取决于授权时,是否隐藏真实电子邮箱。email_verified:是否验证 Emailis_private_email:是否是代理地址
拿到用户的 Apple ID 和Email 之后,就可以完成后续的登录逻辑了。
验证 authorizationCode
登录流程如下:

第二种方式验证时,所需要的东西多一些:
- client_id:Apple 开发者后台的App ID 或 Services ID
- client_secret:由开发者生成的 JWT 令牌,验证 Authorization code 和刷新令牌需要用到该参数。
关于如何创建 Client Secret,可以点击查看。
更多其他请求参数,可以查阅更多。
参考链接
